
Recording a Landscape or Screen-sharing Video
Last updated July 21, 2026
Landscape recording is ideal when you want to share slides, present content, or record your screen.
Before You Start
- Use a laptop or desktop computer.
- Close extra browser tabs and applications.
- If presenting, have your slides or materials ready.
Step 1: Open Your Recording Link
Click the recording link that was shared with you.
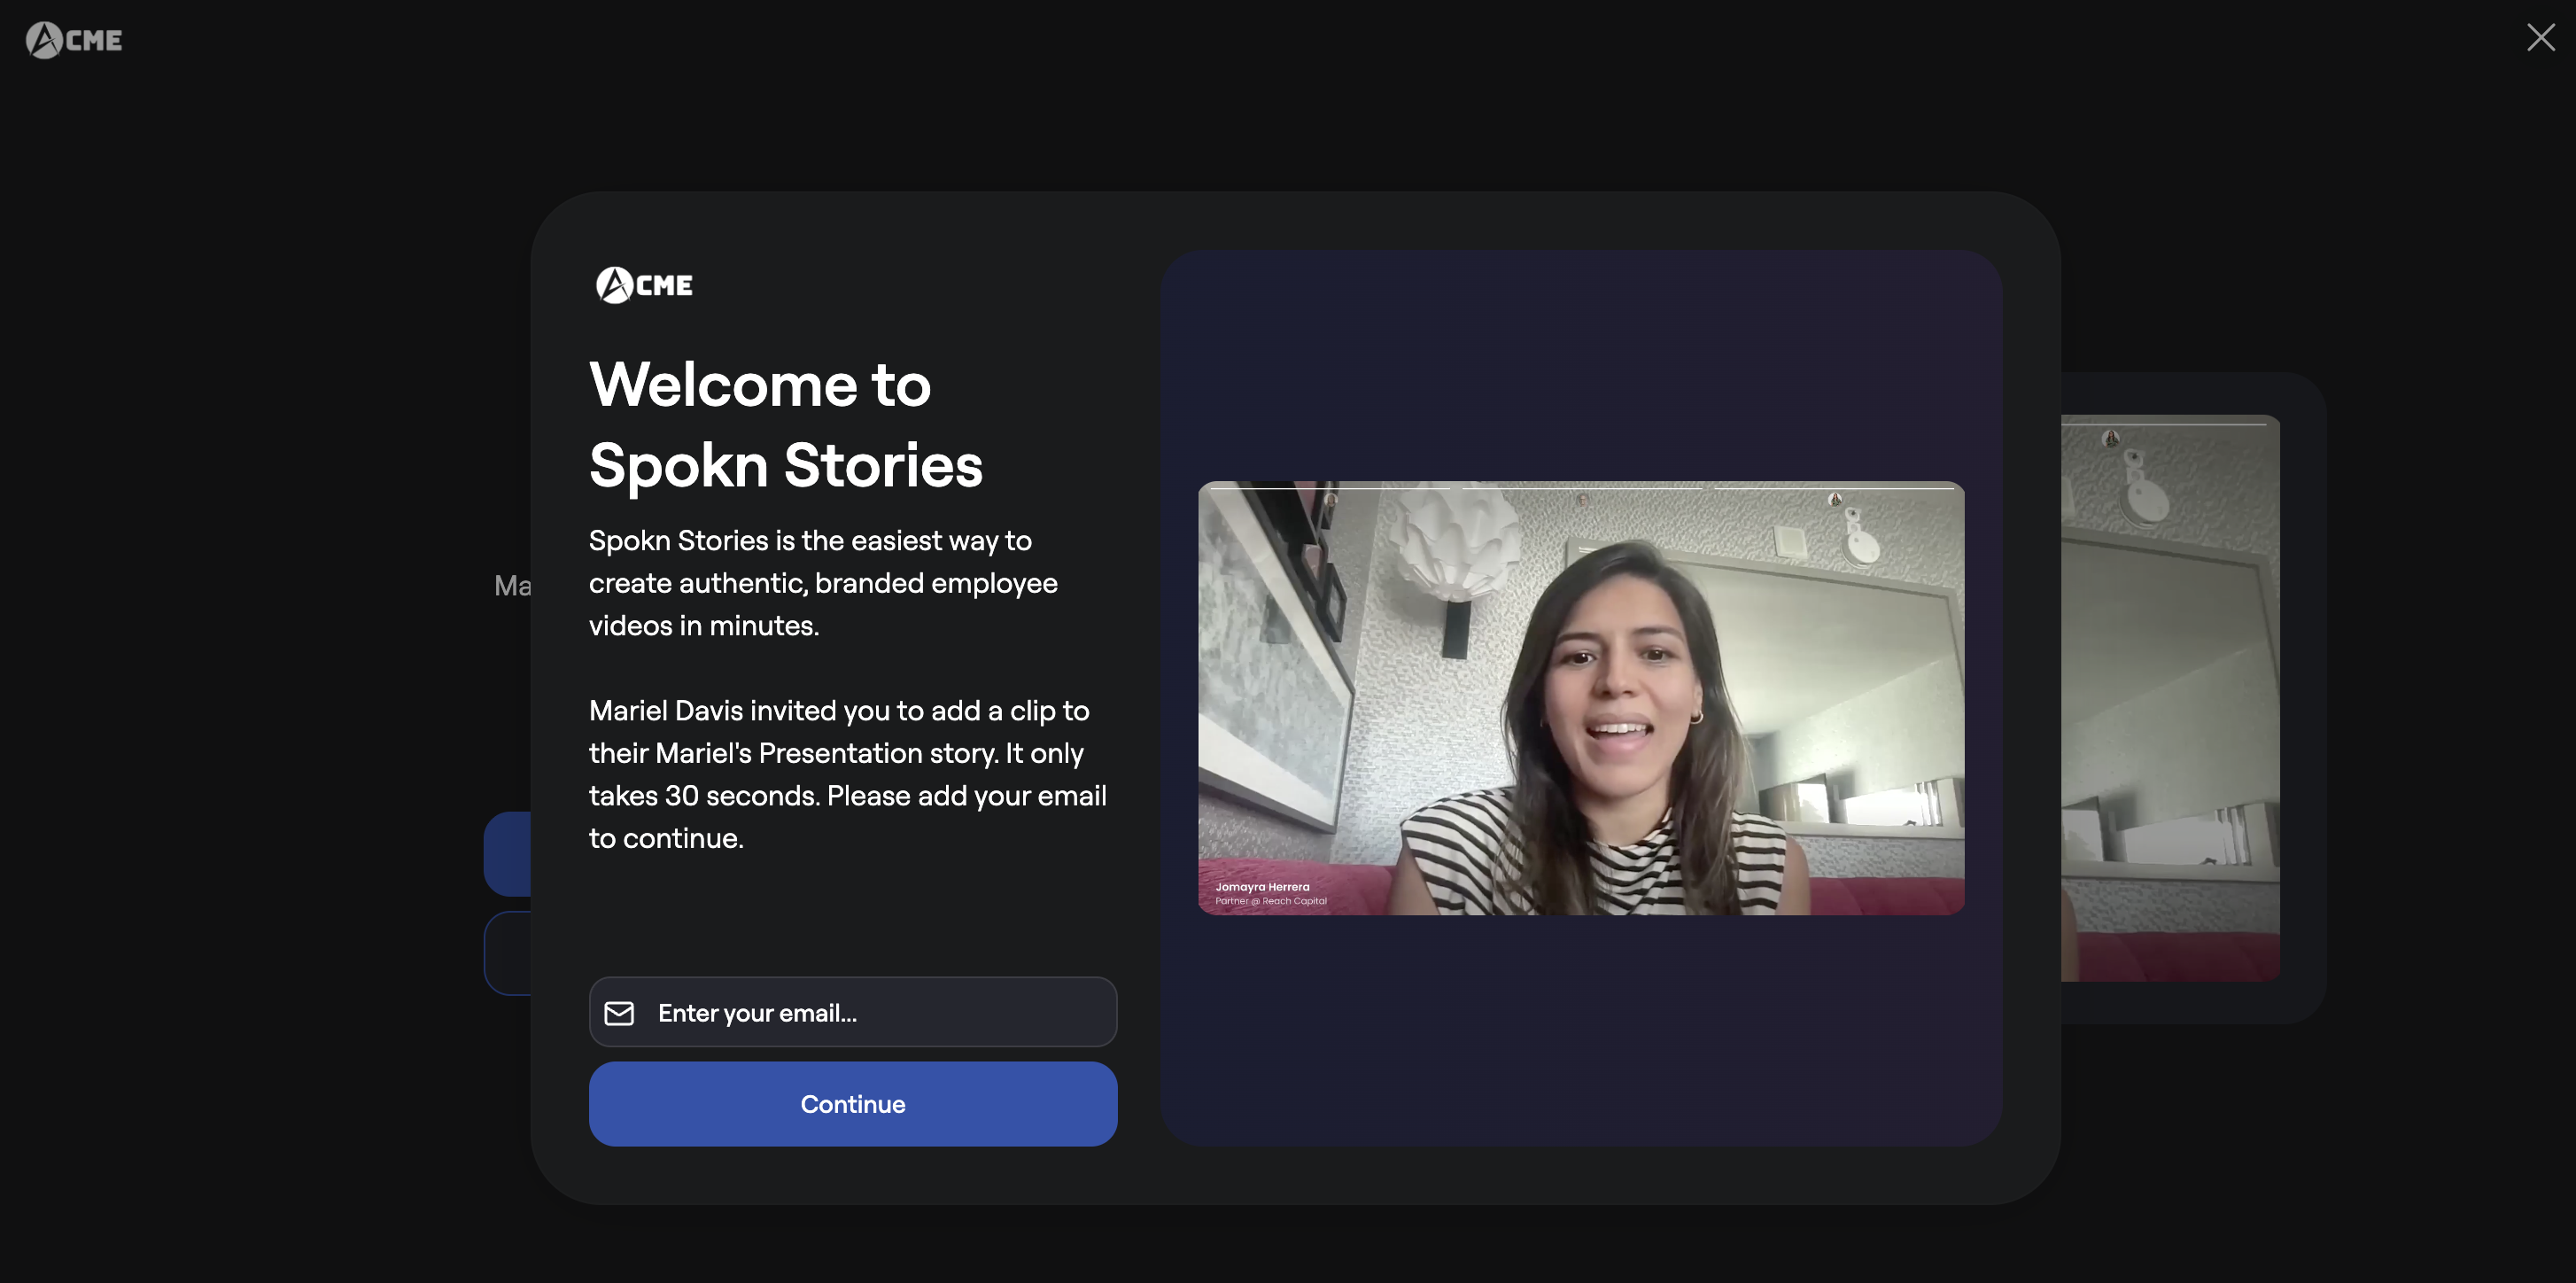
Enter your work email and click Continue.
You can access live support anytime using the chat icon in the bottom right corner.
After entering your email address, you'll see a short prompt explaining what to talk about.
Click Record a Video to record.
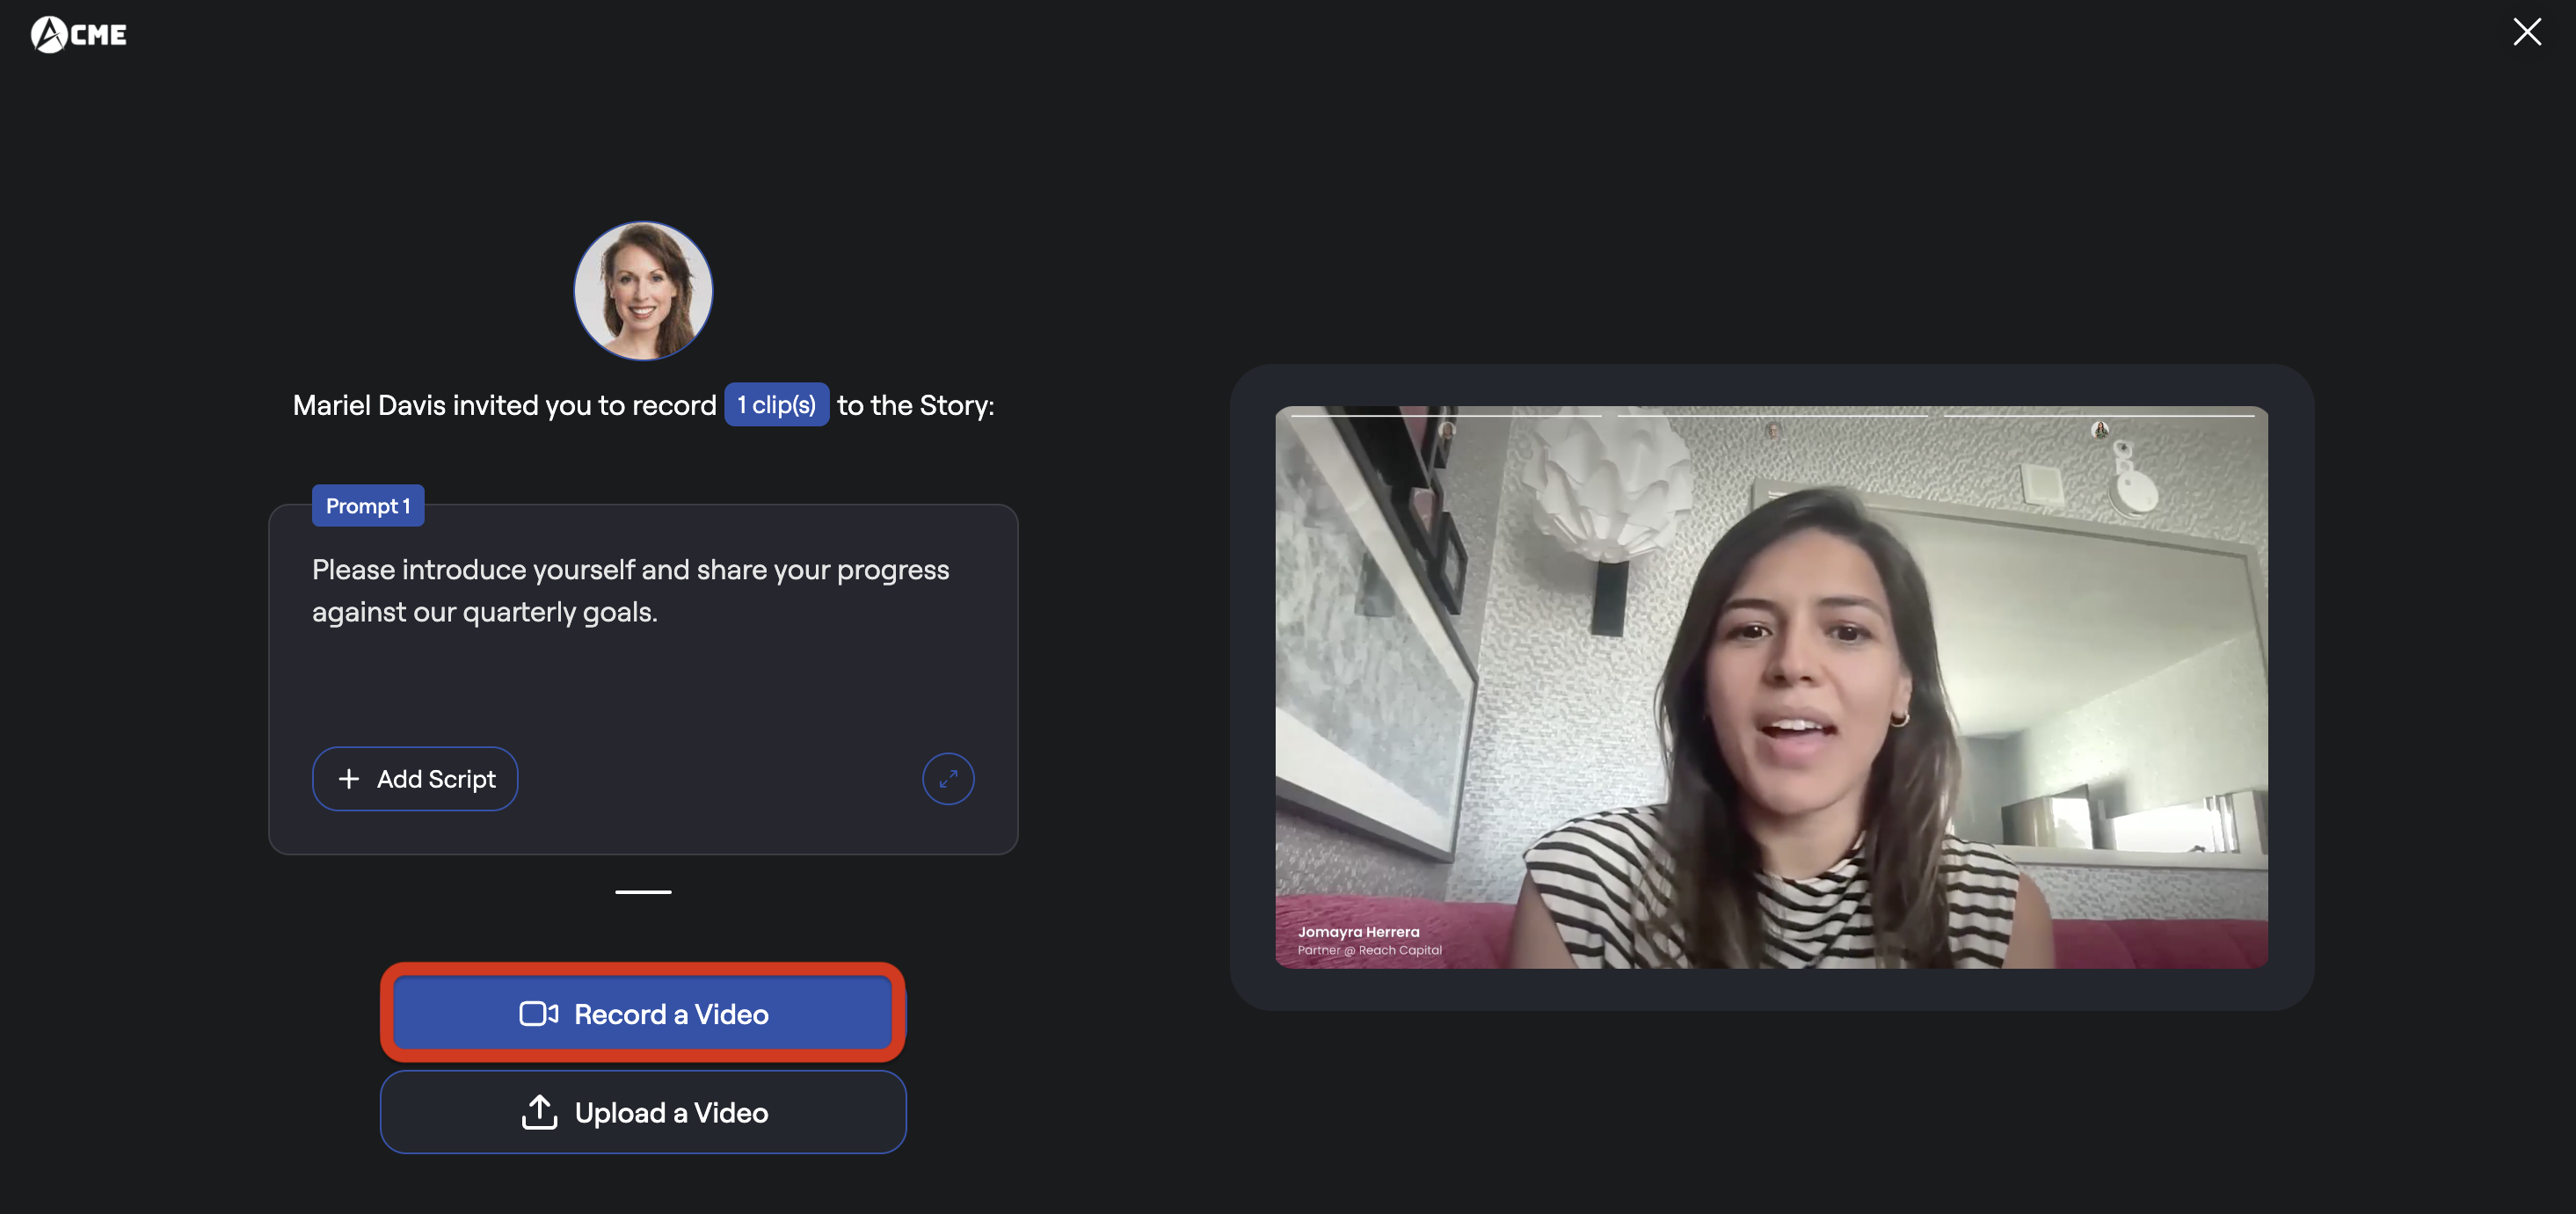
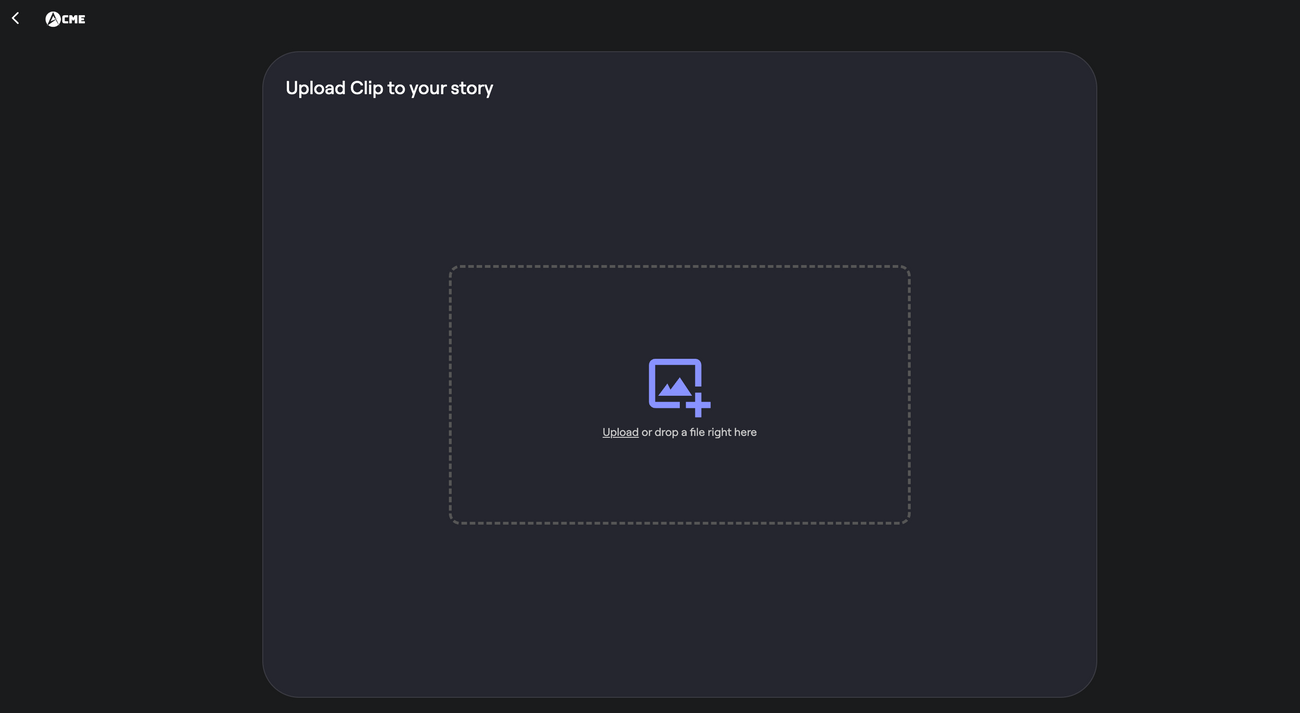
You can also choose to Upload a Video if you already have a clip you wish to upload instead.
Step 2: Choose Your Camera and Microphone
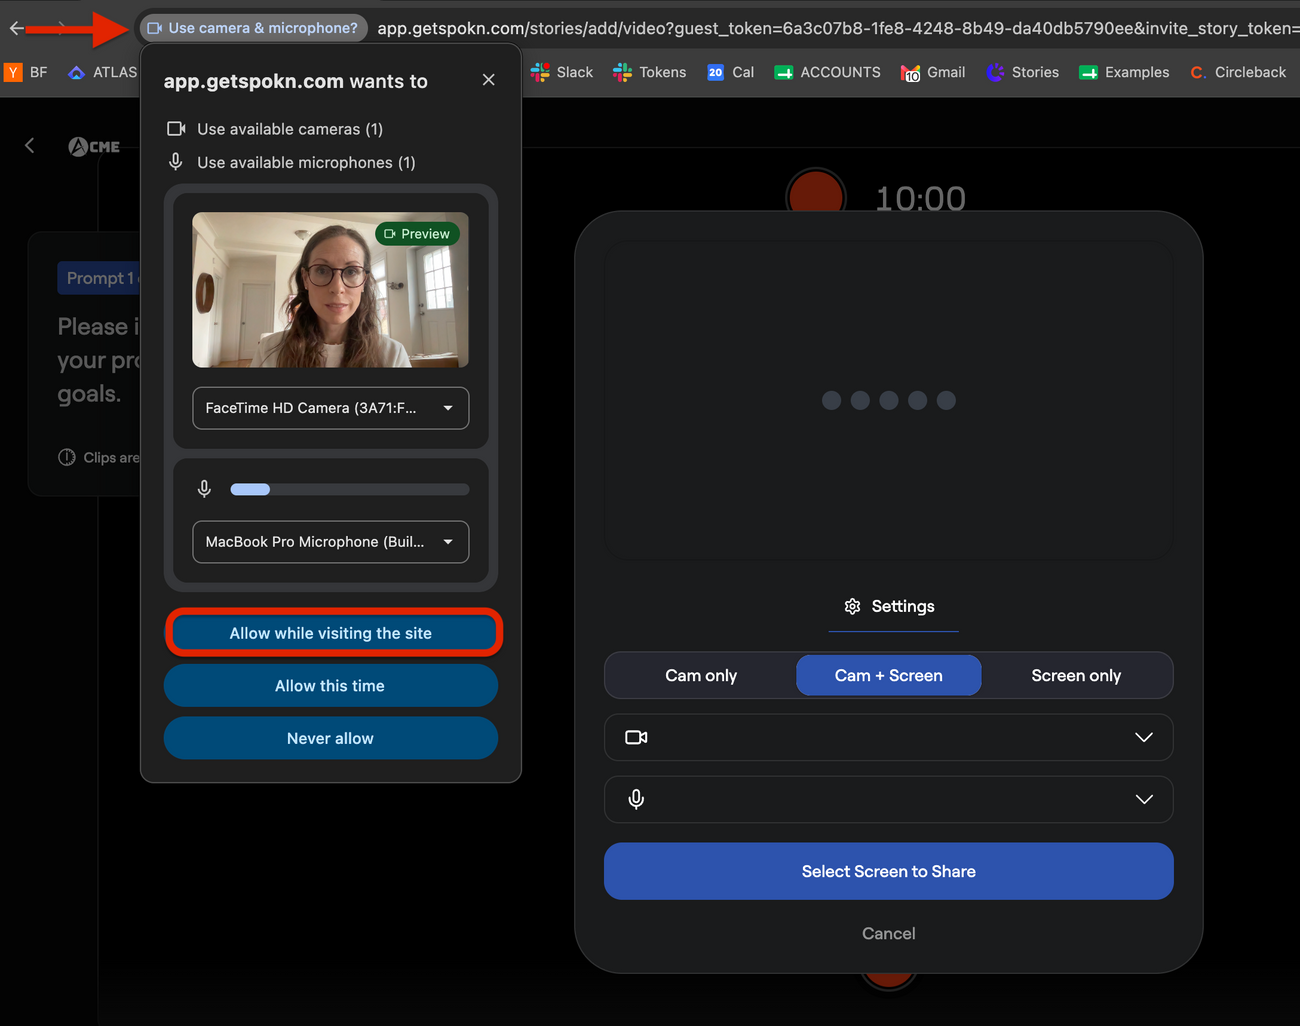
The first time you record, you will see a popup prompting you to allow Spokn to use your camera and microphone. Follow the directions in this article for help.
Step 3: Choose Your Recording Type
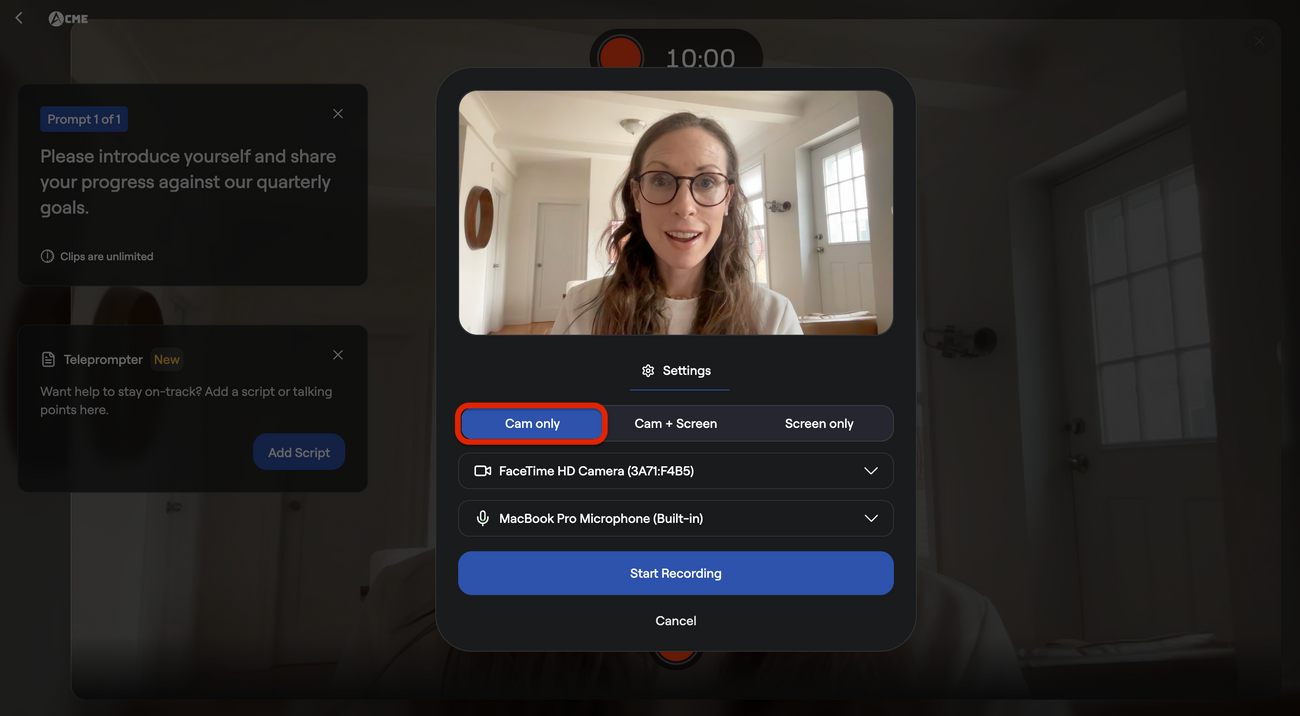
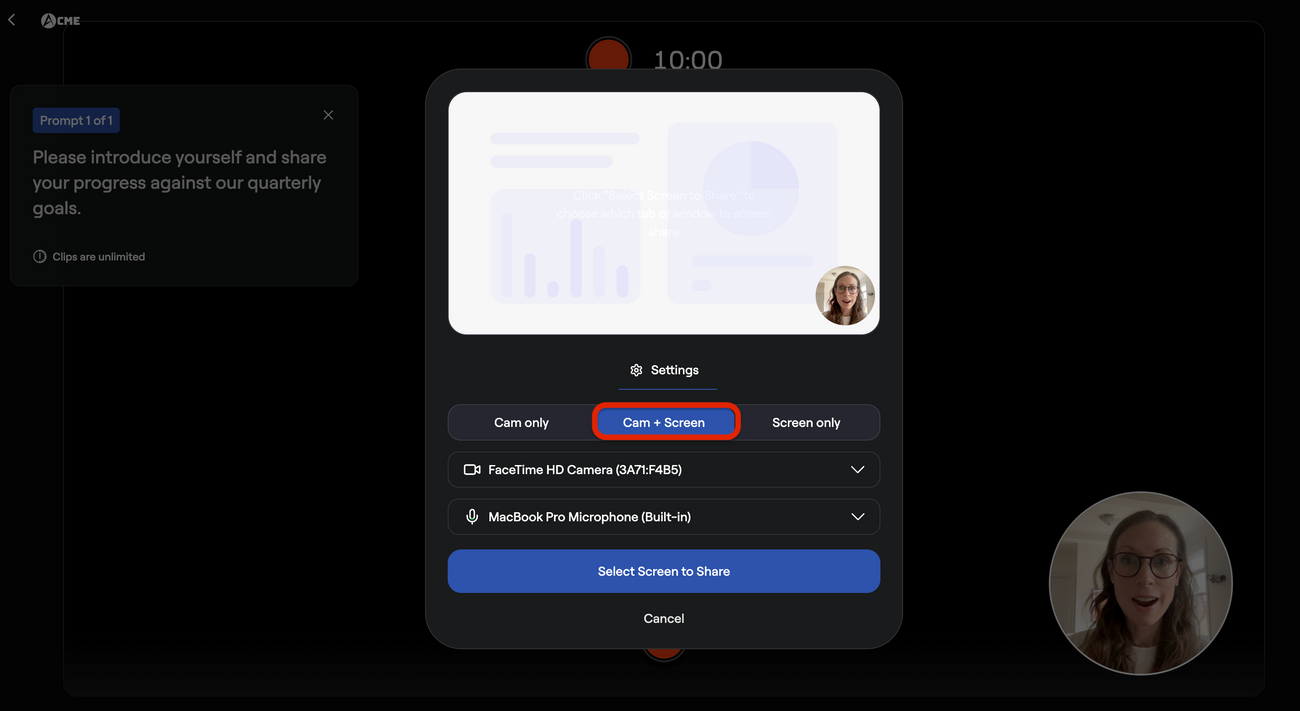
Select the option that best fits your needs:
- Camera Only: Records just your face.
- Screenshare + Camera: Records your screen with a small video of your face.
- Screenshare Only: Records only your screen.
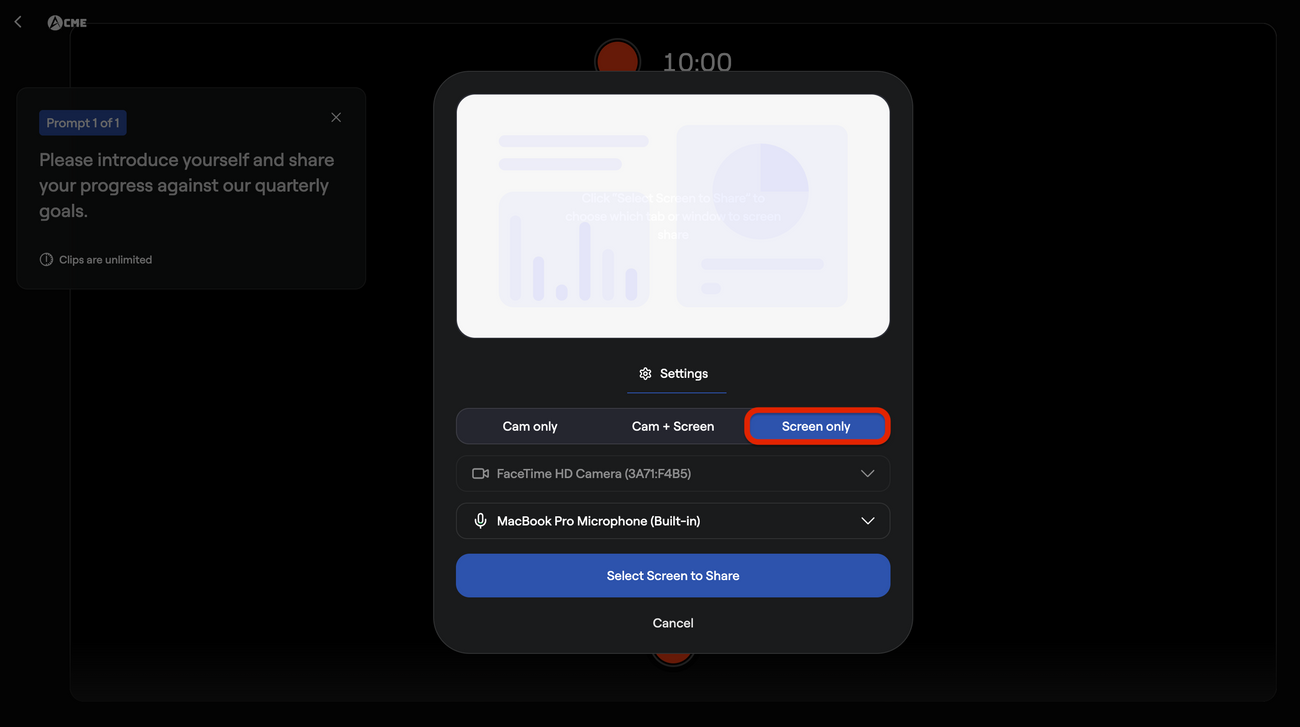
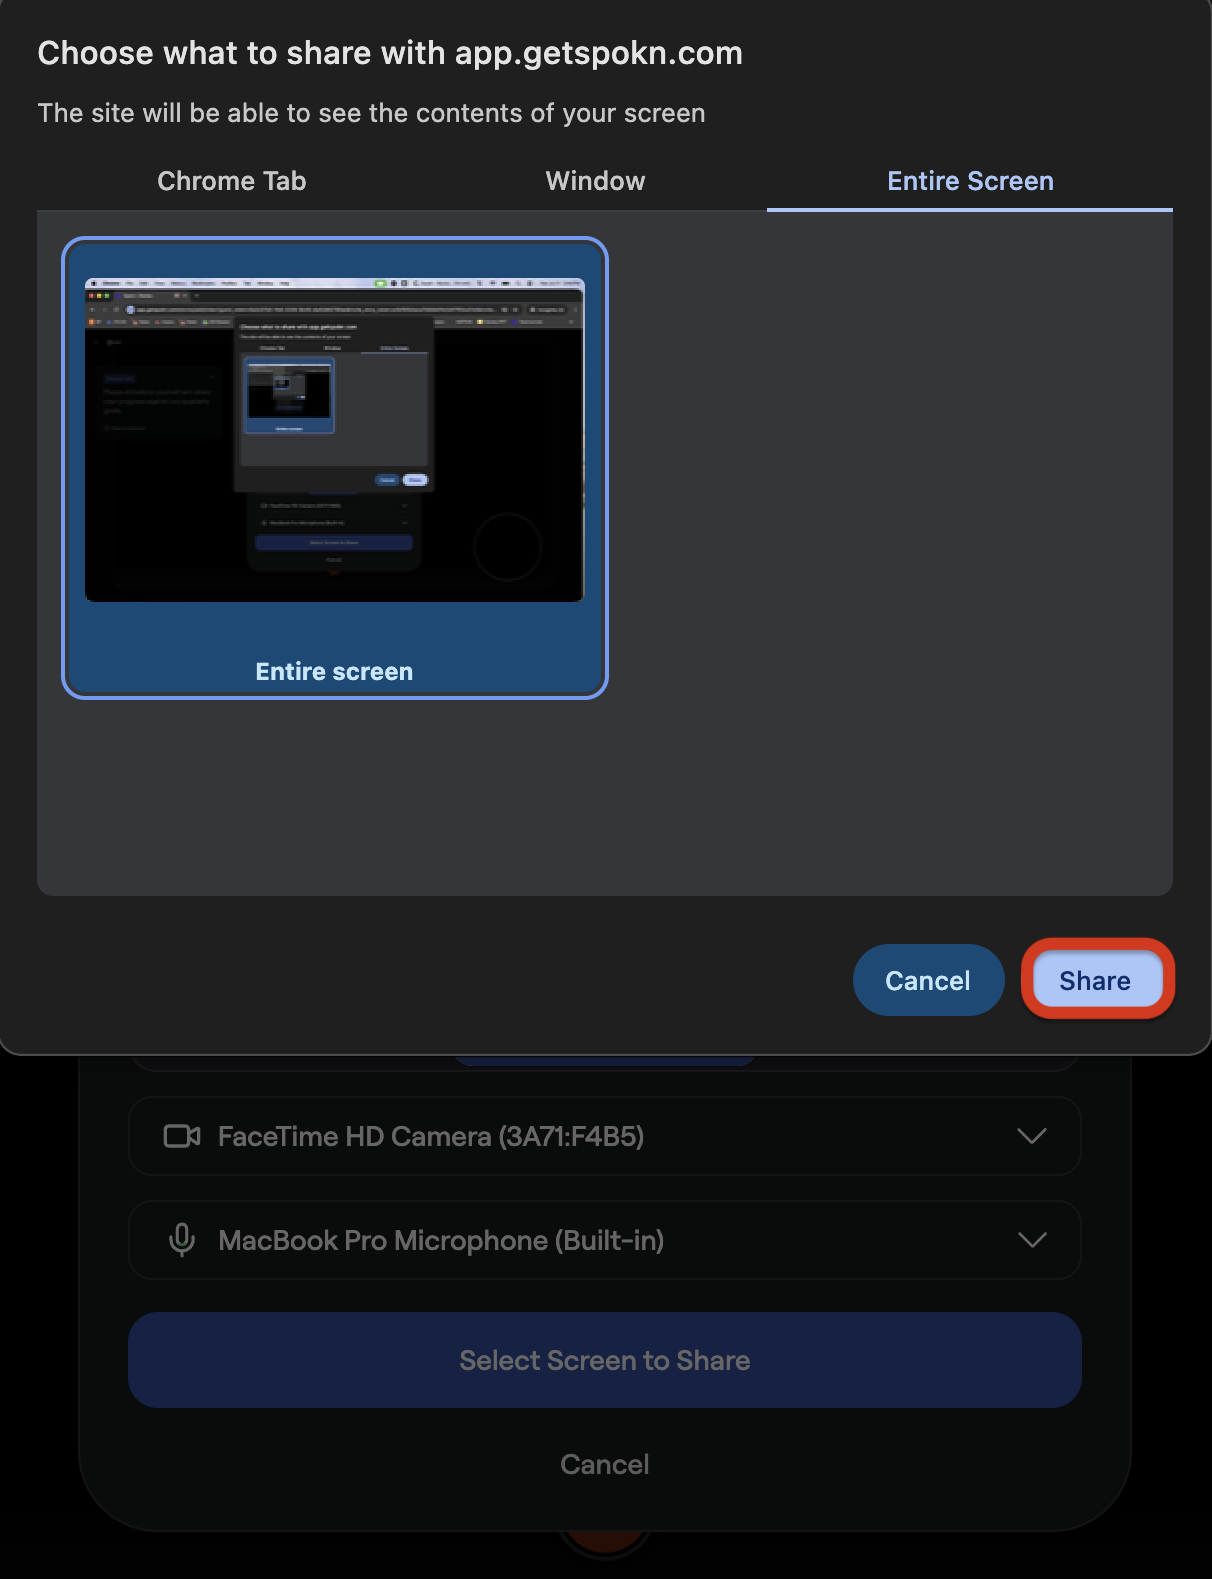
If you choose a screenshare option, you’ll be prompted to select which screen, tab, or window to share.
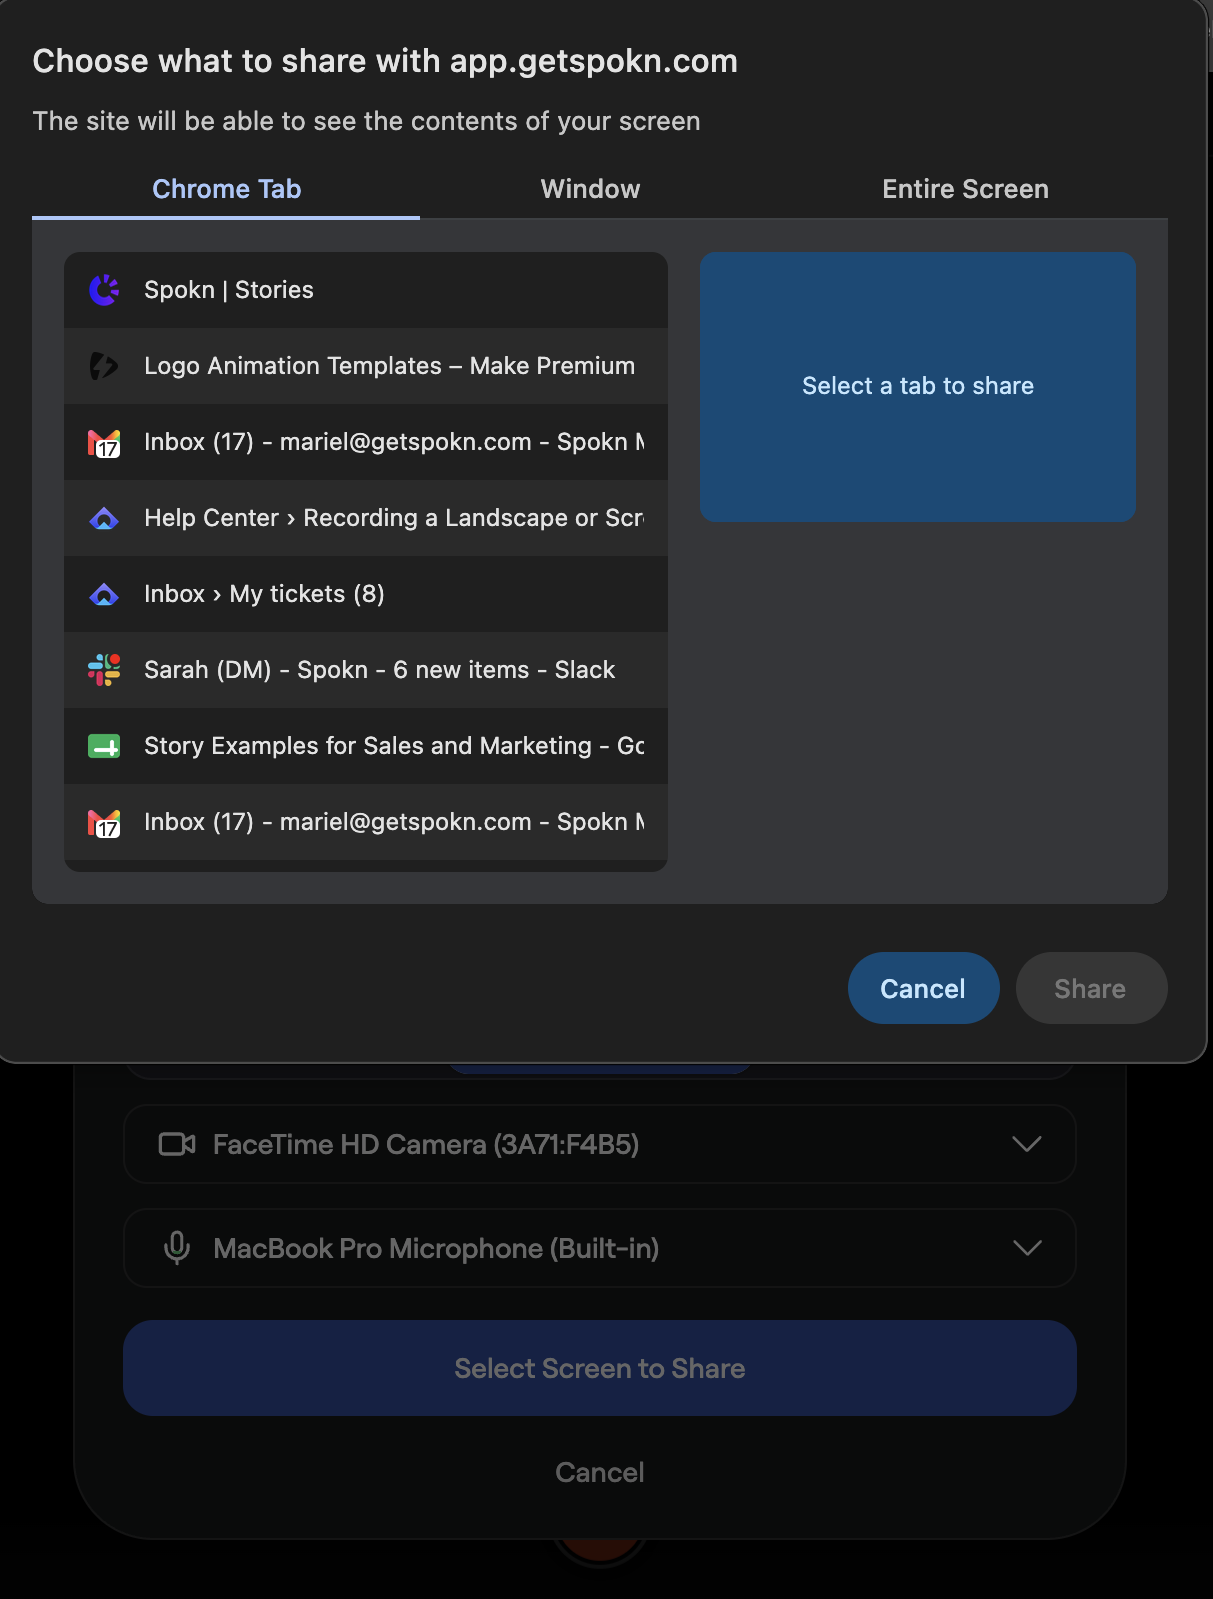
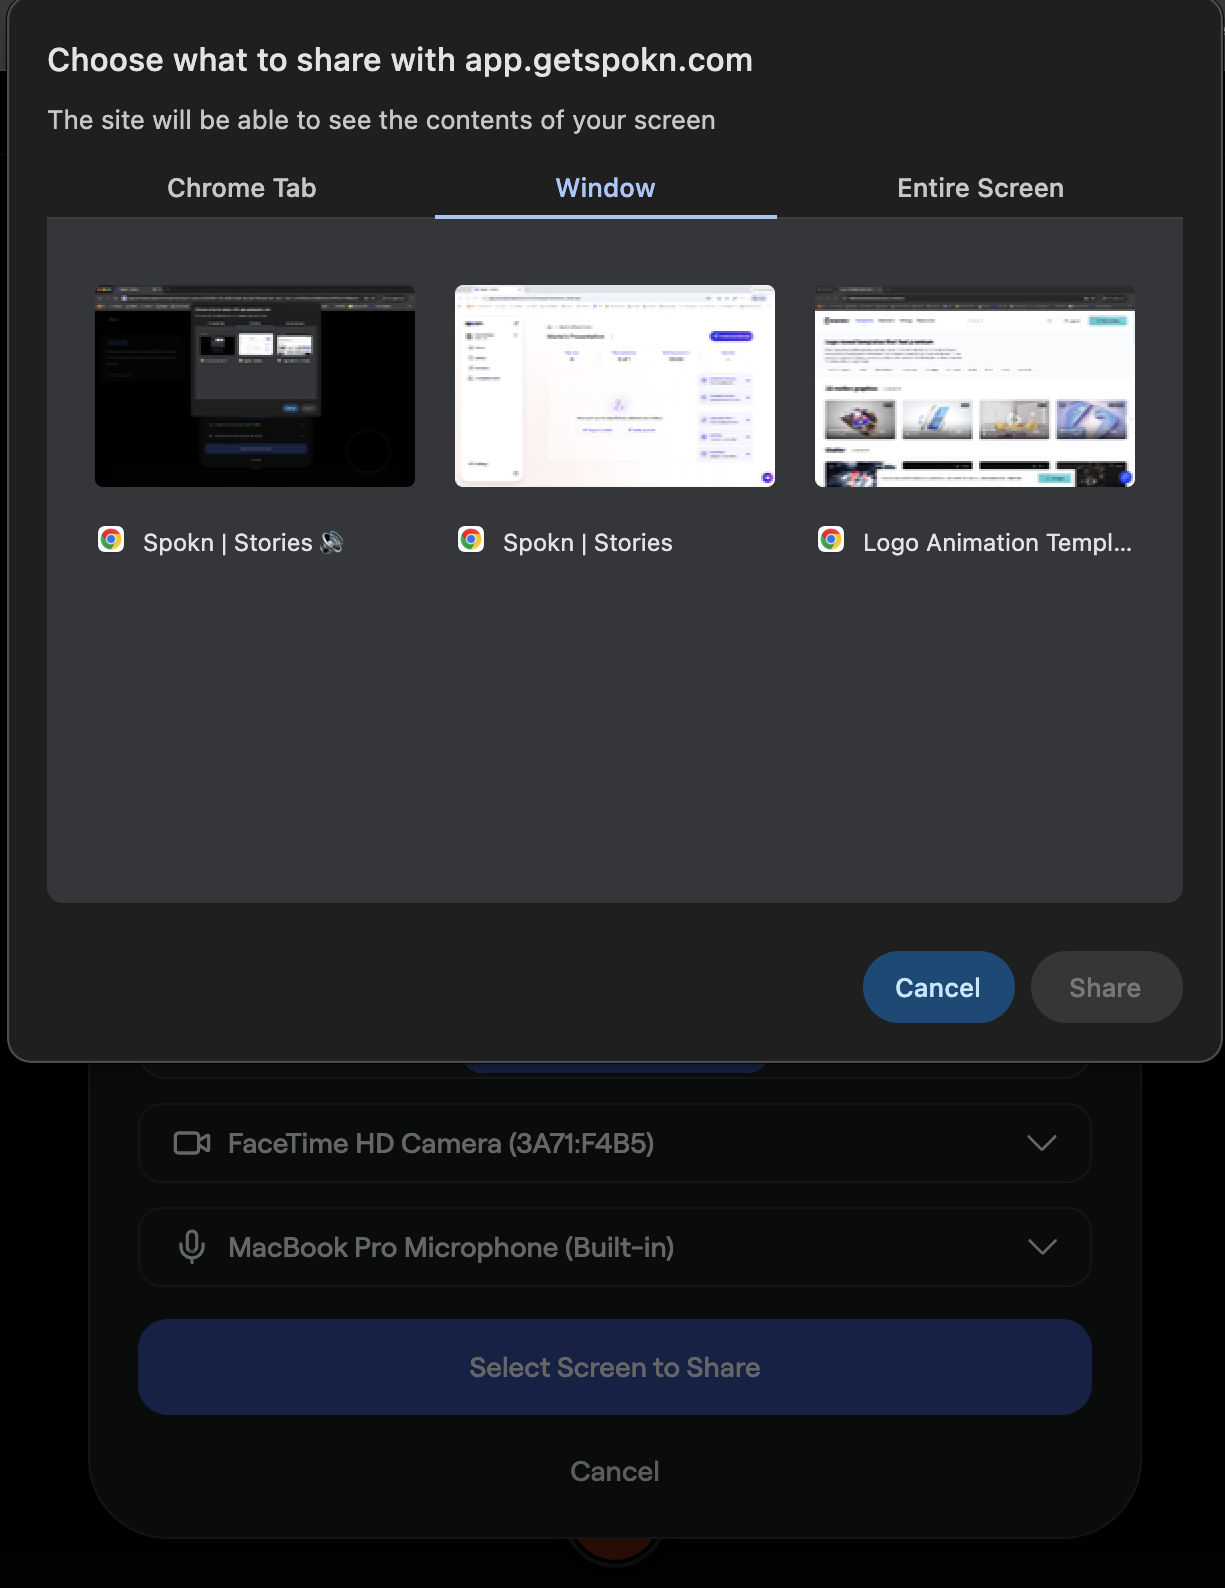
Click Share.
When you're done recording, click Stop Sharing.

Step 4: Review and Edit
- Replay your clip
- Re-record as many times as you would like
- Trim the beginning or end
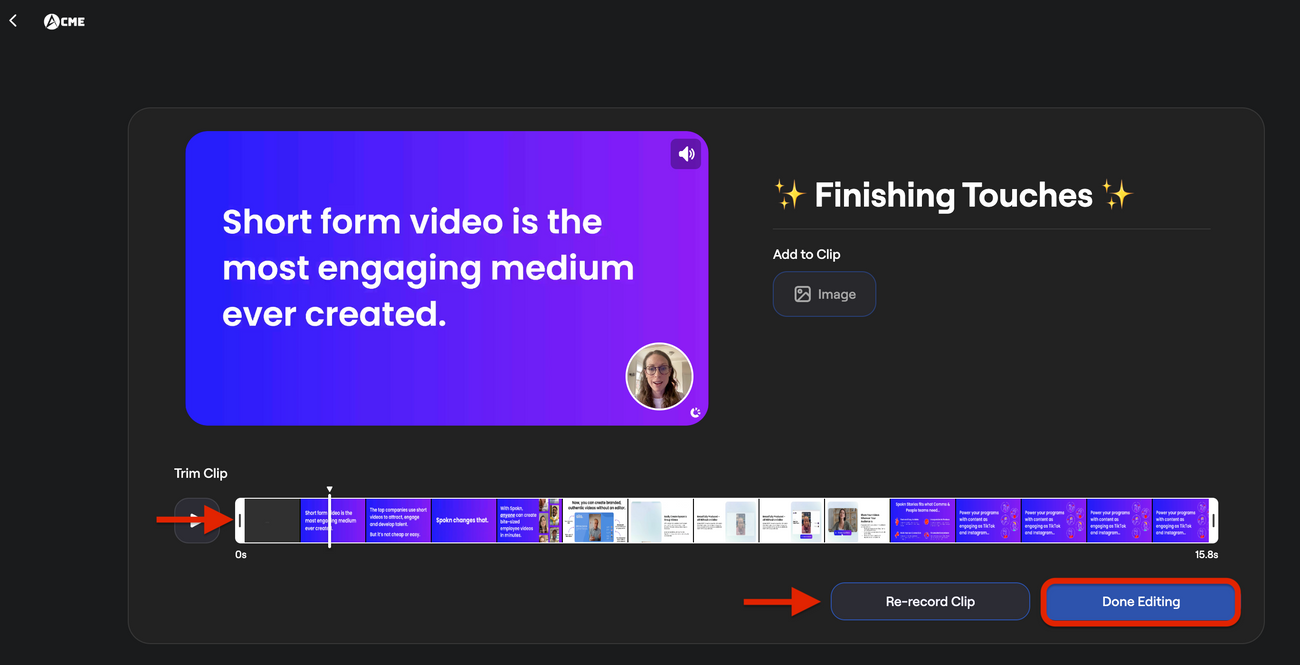
If you’re happy with your clip, click Done Editing.
Step 5: Add Your Details and Submit
Before submitting, you’ll:
- Enter your name
- Enter your job title
- Agree to the video usage terms
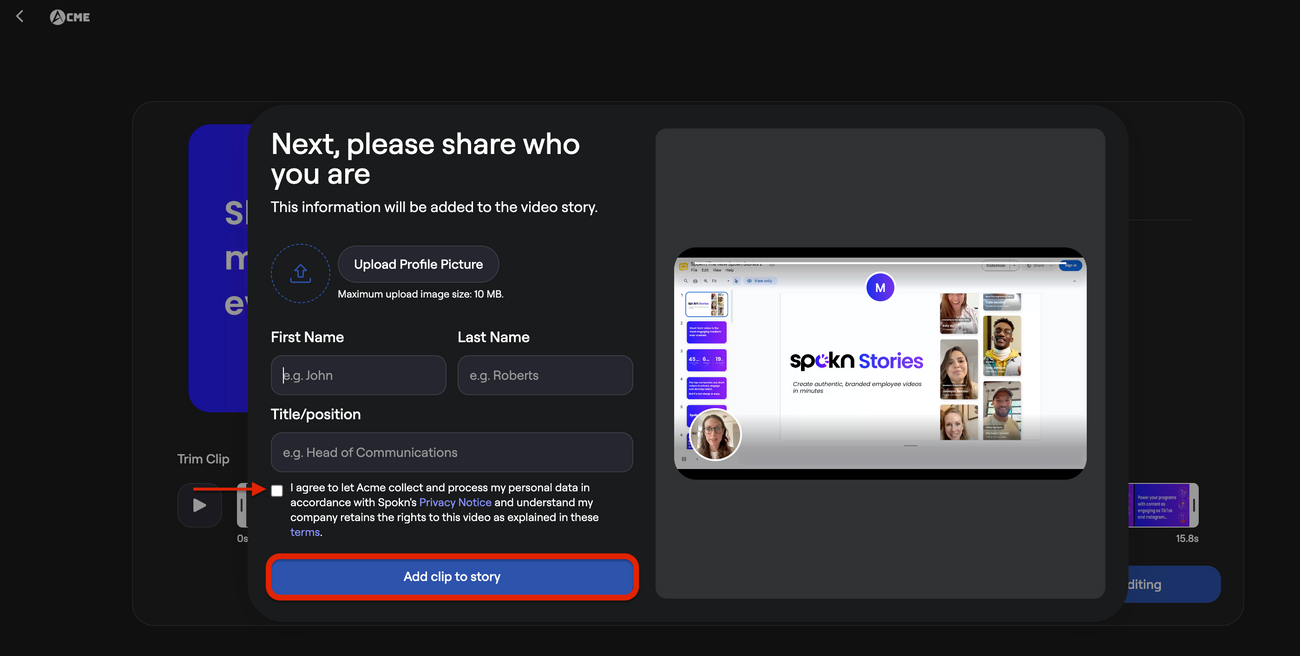
Click Add clip to story.
Once submitted, your clip is sent to the story editor for review.
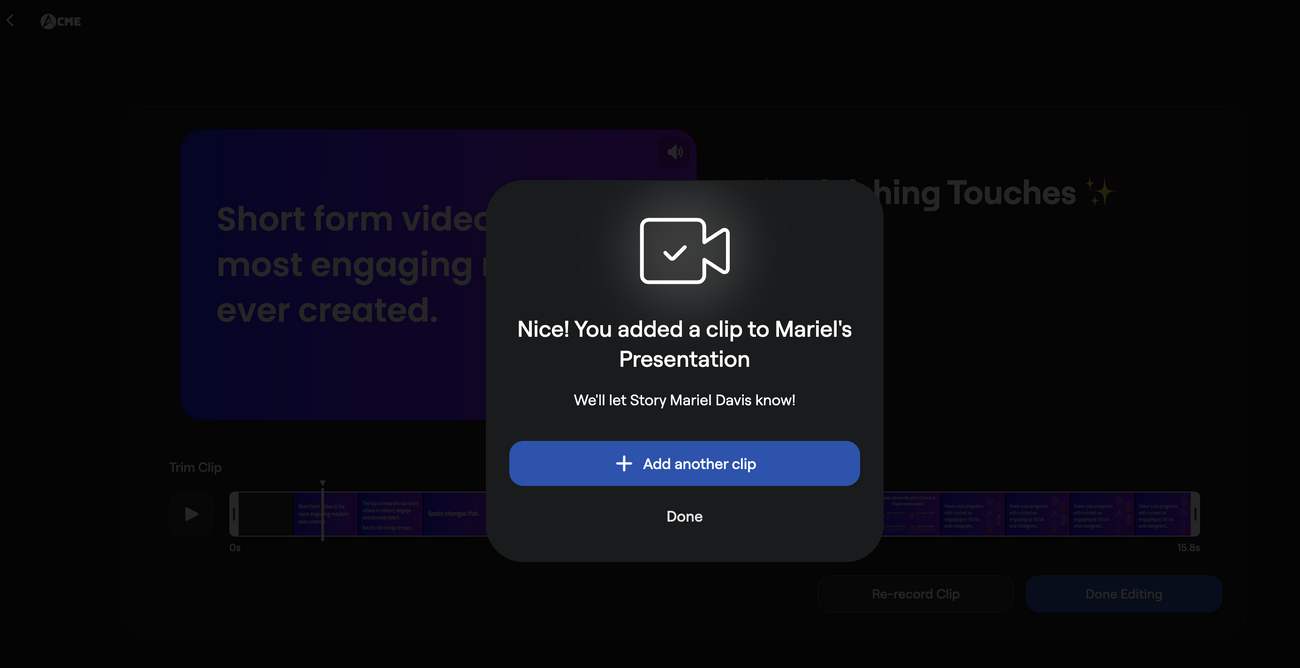
Depending on your network speed and video length, upload may take a few minutes. You’ll see a confirmation message once your clip has been successfully added.