

OneLogin SSO
Last updated July 21, 2026
- To configure Spokn, go to your company OneLogin Admin page -> Applications
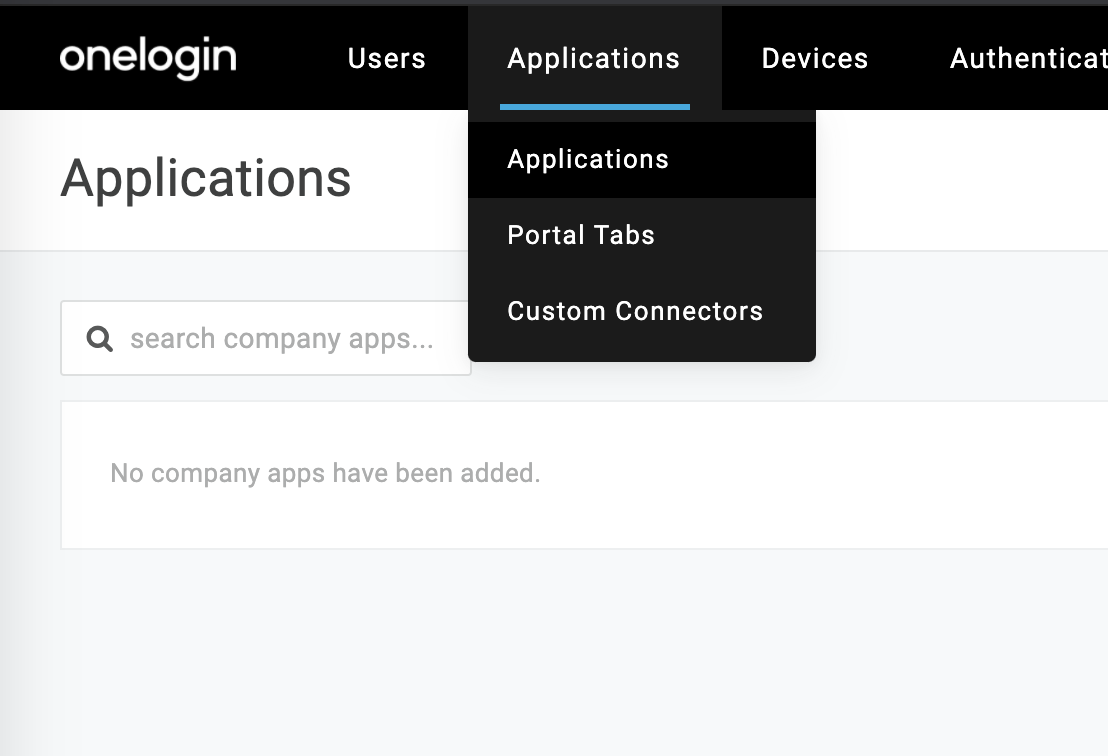
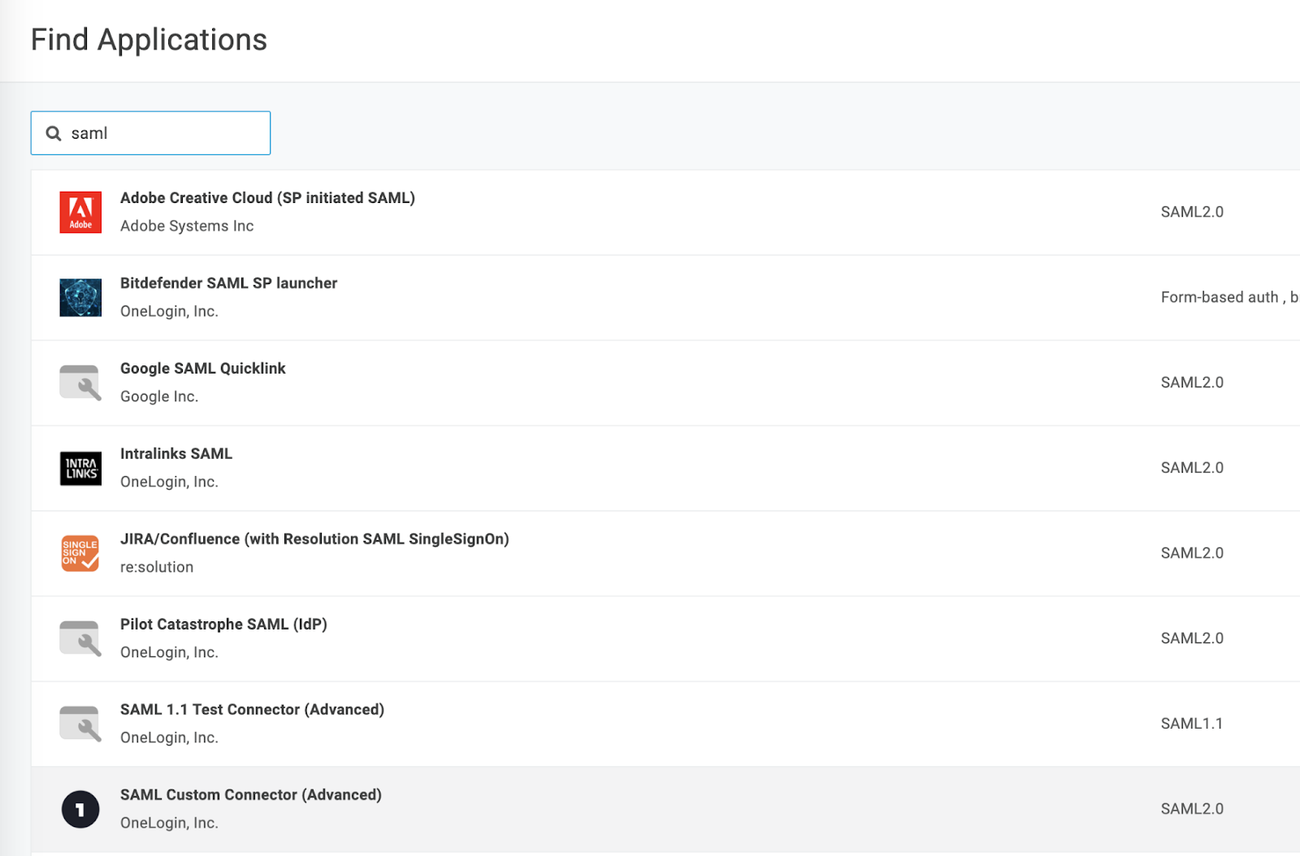
- Search for “SAML Custom Connector” (and please make sure it’s the SAML 2.0 connector)
- Add a new connector and configure the name and icon you’d like for Spokn.
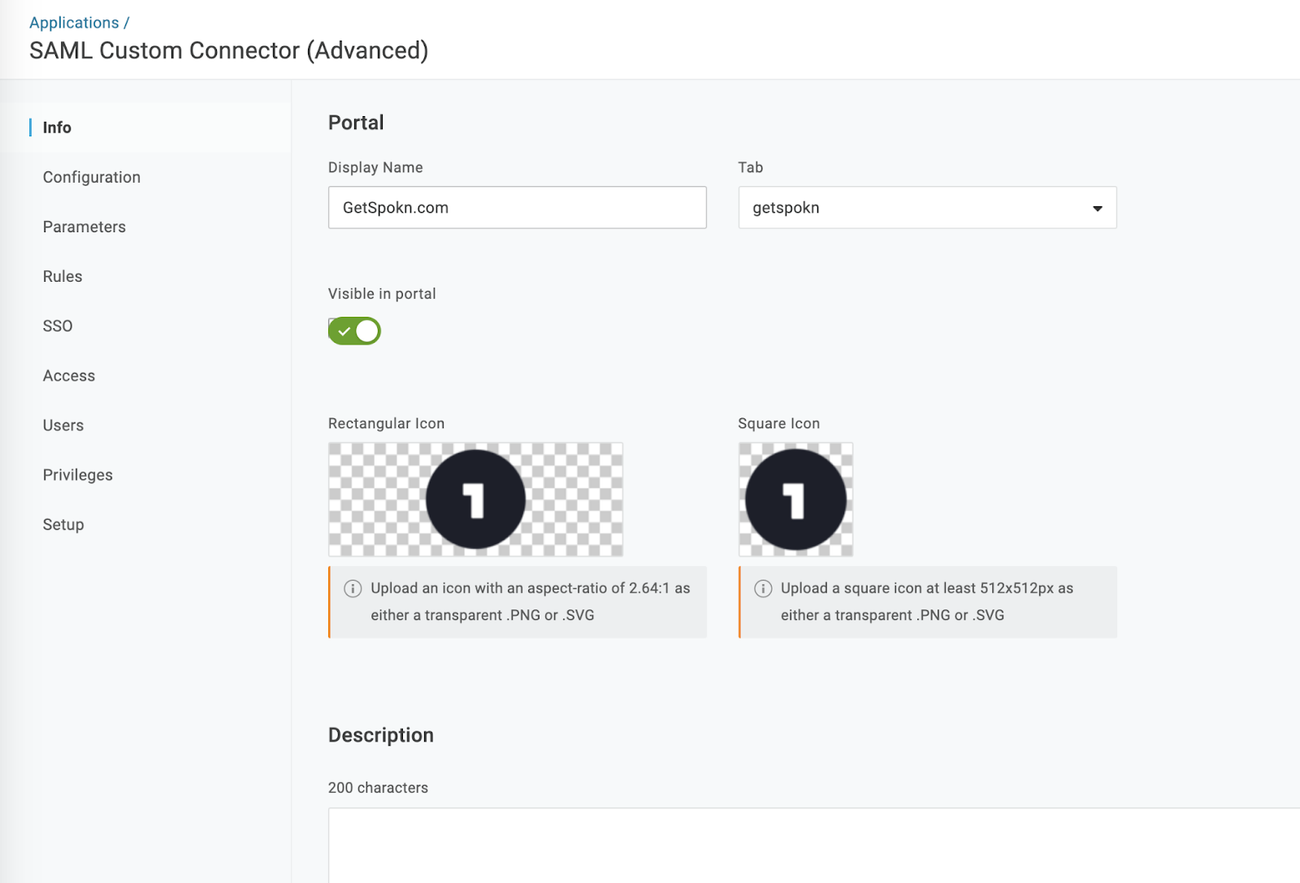
- Then click “Configuration” in the left menu
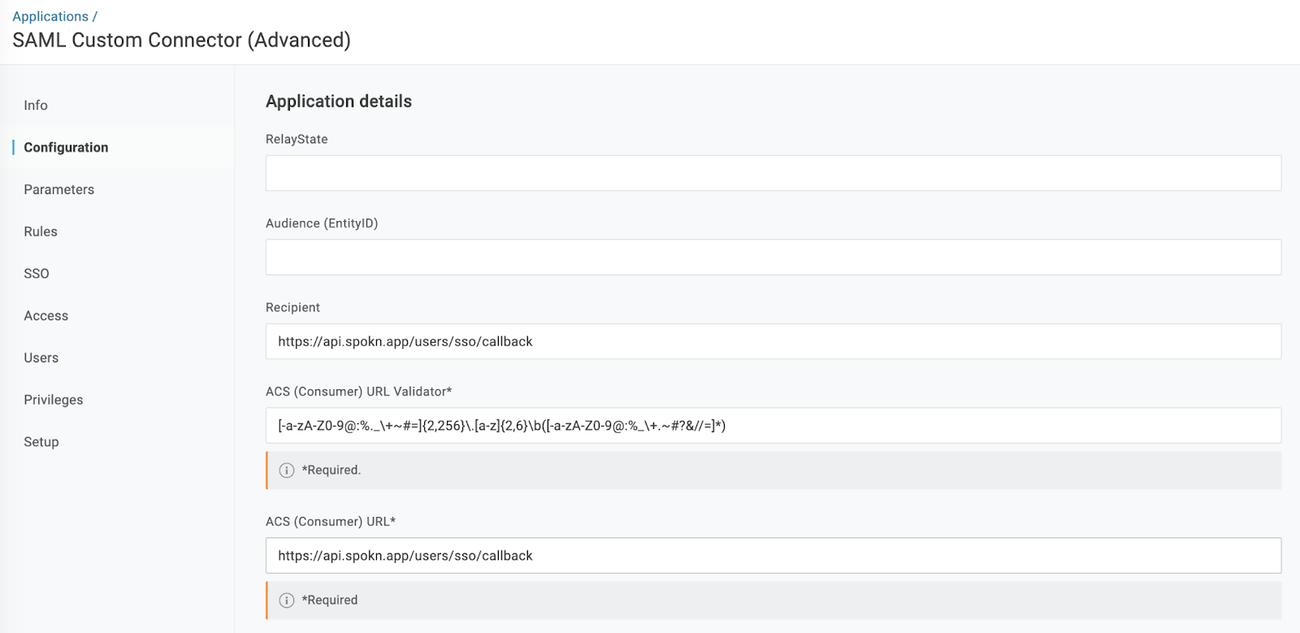
Select the Configuration tab, then enter the following values:
- RelayState: leave blank
- Audience: SP_SPOKN
- Recipient: https://api.spokn.app/users/sso-web/callback
- ACS (Consumer) URL Validator: [-a-zA-Z0-9@:%._\+~#=]{2,256}\.[a-z]{2,6}\b([-a-zA-Z0-9@:%_\+.~#?&//=]*)
- ACS (Consumer) URL: https://api.spokn.app/users/sso-web/callback
- Click on the “Parameters” section to map your user information
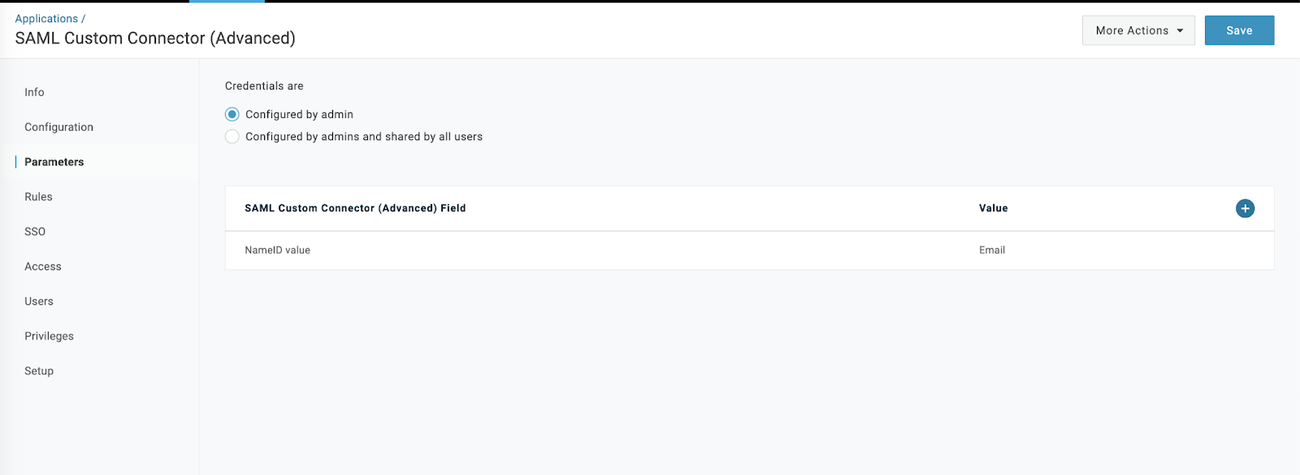
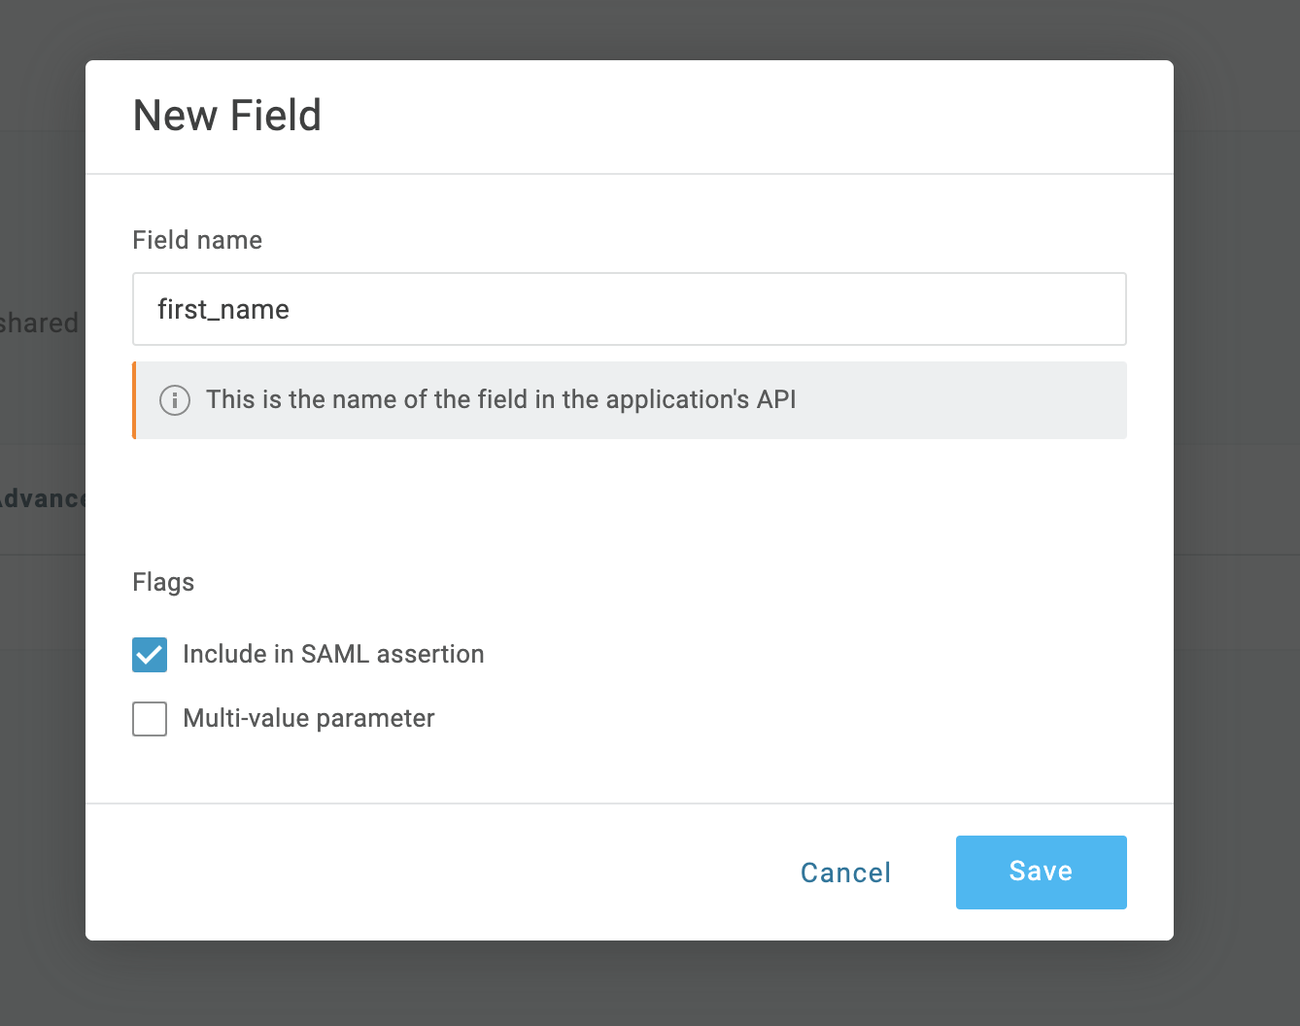
Create and map the following new fields:
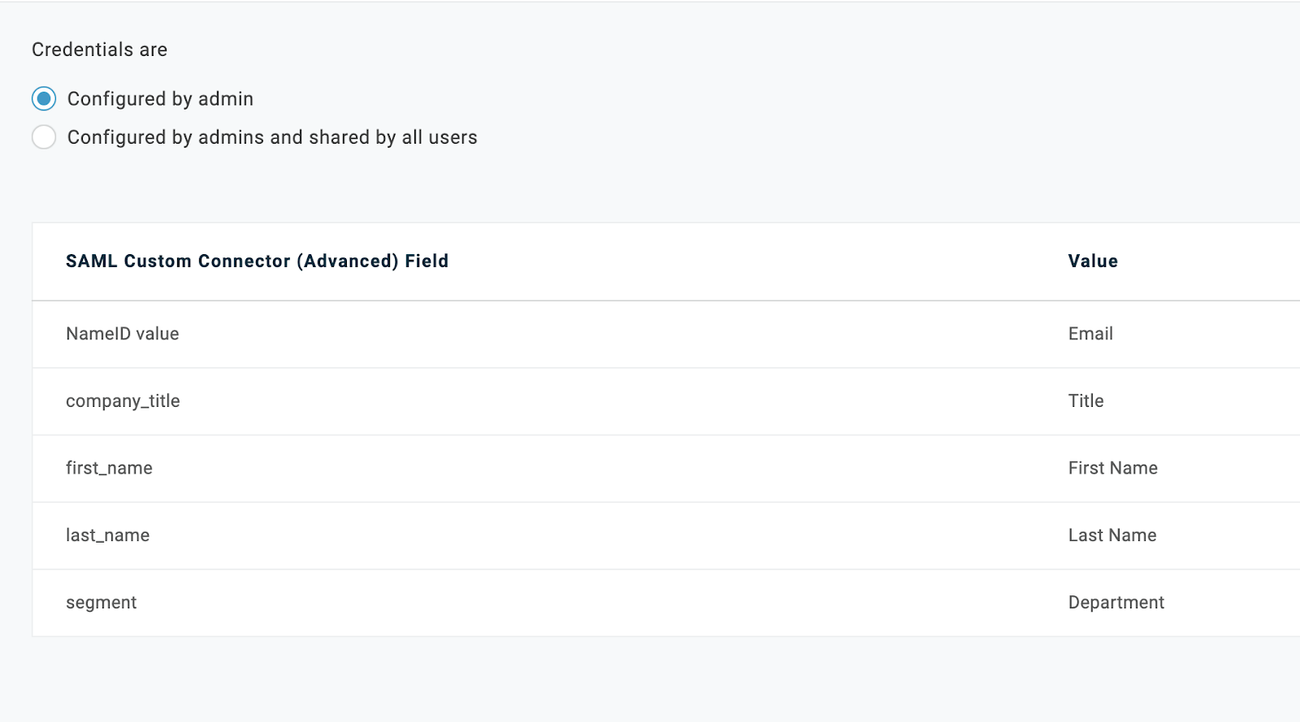
- Map Department -> segment
- Map Title -> company_title
- Map First name -> first_name
- Map Last Name -> last_name
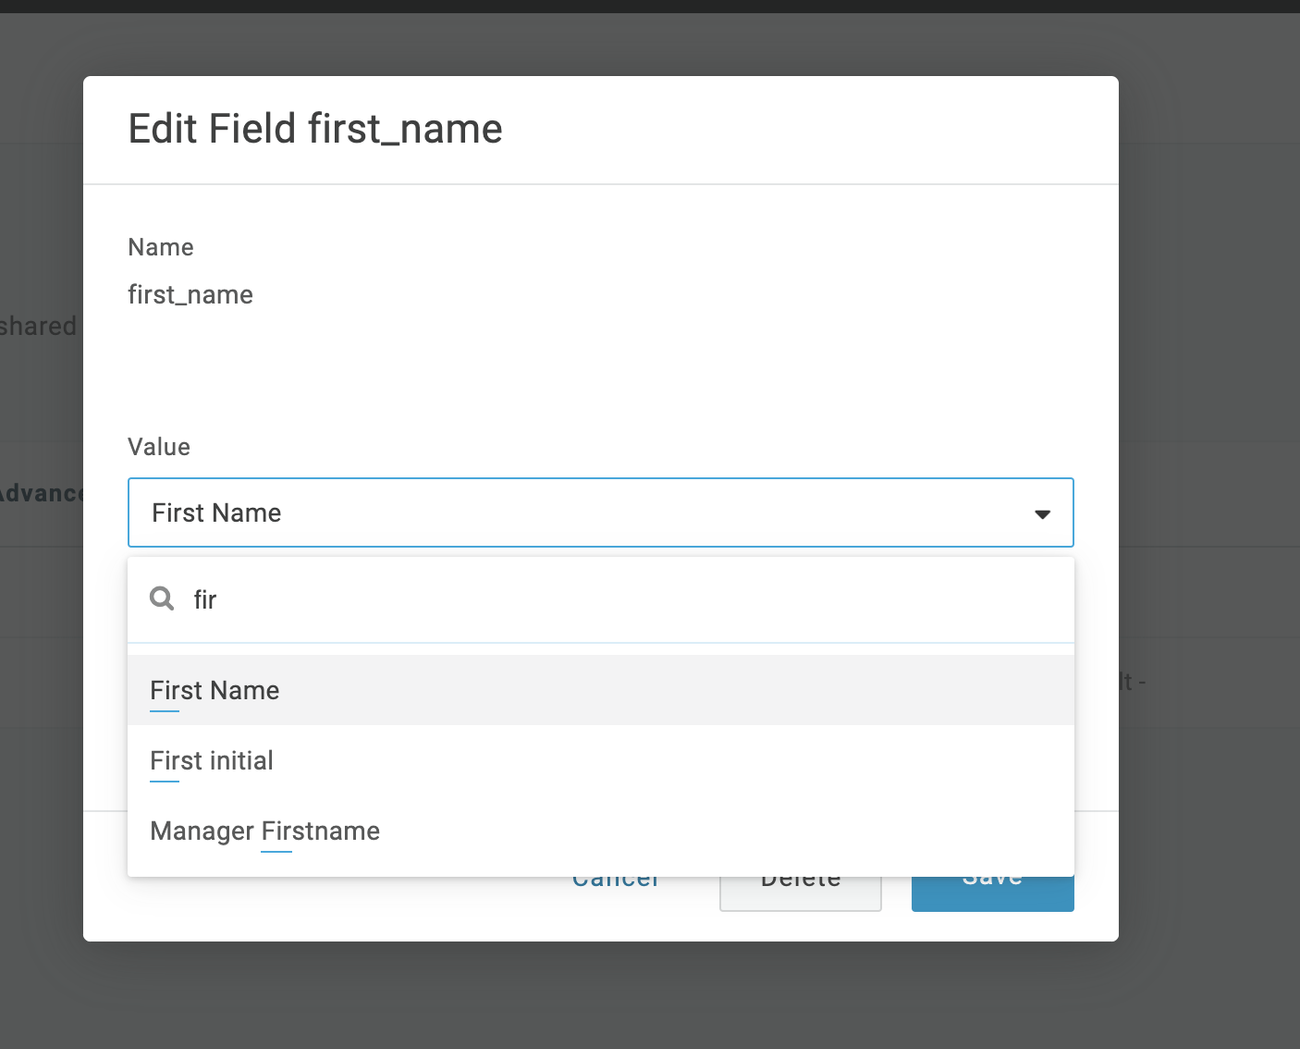
Your final mapped fields should look like this:
To configure SPOKN SSO, please copy the following:
- SAML 2.0 Endpoint shown below
- X.509 Certificate highlighted in the second image (press view details on X.509 from the first image to view it)
Configuring Spokn (Final Step)
Please complete the following configuration to add SSO information to your company’s Spokn Account.
To update the portal with your SSO data:
- Visit the Spokn portal here: Setting SSO
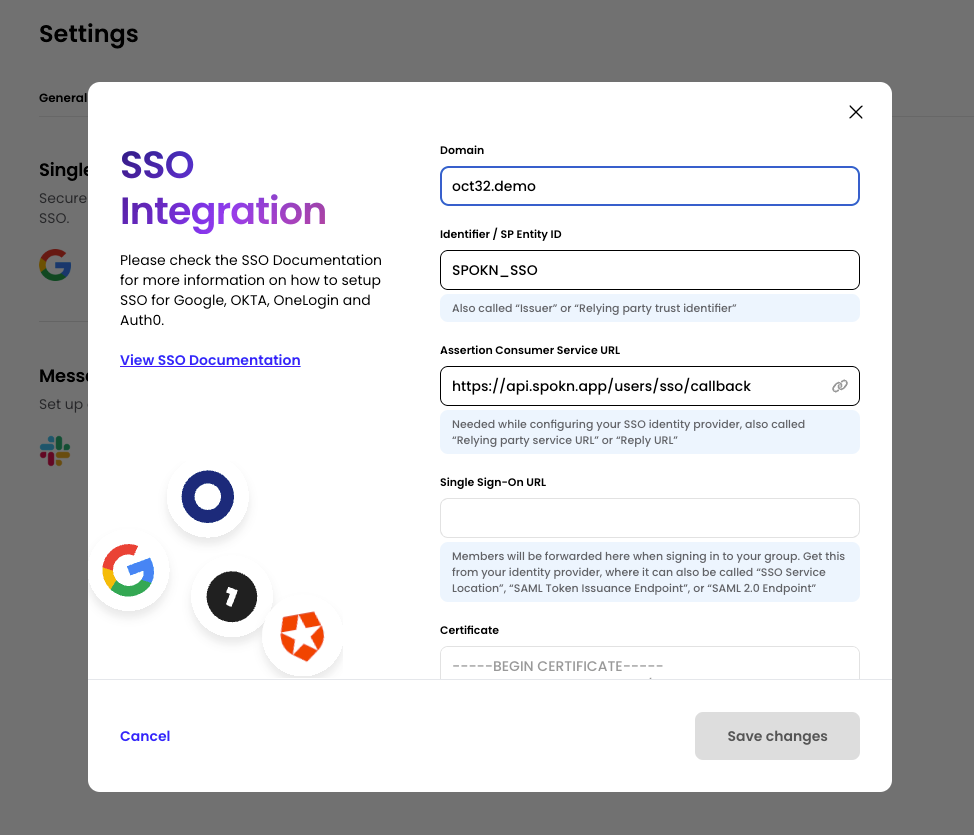
- In “Integration” Tab, Select “Connect” in the “Single Sign On” Section
- In the Domain field, set your domain (ex. getspokn.com)
- Copy the Identifier / SP Entity ID (SPOKN_SSO) to yours SSO SP identifier (Also called: Audience Restriction/sp Entity ID)
- Copy Assertion Consumer service URL ( https://api.spokn.app/users/sso-web/callback ) to your Reply URL (Also called: SAML Callback URL or relying party URL)
- In Single sign-on URL, paste your SSO Entry URL (Also called: SSO service location or SSO Endpoint)
In Certificate, add the certificate from your IdP (no need to remove the begin/end part, it will be truncated automatically)
Was this article helpful?